Nikon Coolpix Camera Instruction Manual: A Comprehensive Guide
Welcome! This manual provides detailed instructions for your Nikon COOLPIX camera, ensuring optimal performance and enjoyment. Familiarize yourself with its features and functions for stunning photography.
Congratulations on selecting a Nikon COOLPIX digital camera! This camera is engineered to deliver exceptional image quality and user-friendly operation, empowering you to capture life’s precious moments with clarity and ease. Before embarking on your photographic journey, we strongly recommend thoroughly reading this instruction manual. It’s designed to guide both first-time users and experienced photographers through the camera’s features and functionalities.
This manual provides a step-by-step approach to setting up and utilizing your COOLPIX camera effectively. A printed Fast Track Guide accompanies your camera, offering a quick overview of essential settings for immediate use. Remember to practice taking trial shots before important events like weddings or graduations to ensure optimal results.
Nikon is committed to providing you with a superior photographic experience. Should you require technical support, various options are available to assist you. Please note that a memory card is not included with the camera; SD, SDHC, and SDXC cards are compatible.
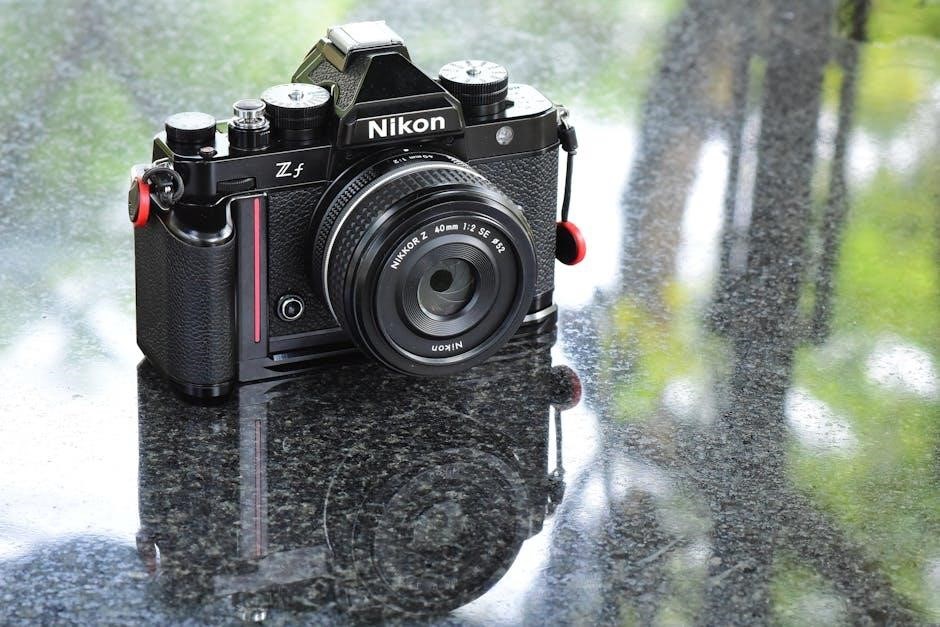
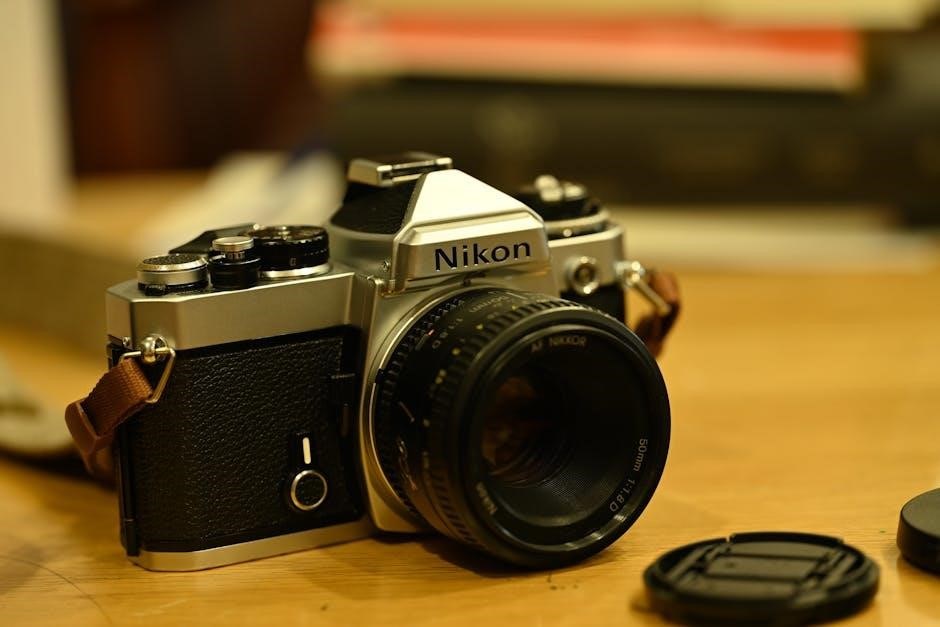
Understanding the Camera Body & Parts
Your Nikon COOLPIX camera features a carefully designed body incorporating several key components. The camera body itself houses the intricate electronic circuitry responsible for capturing and processing images. Familiarizing yourself with these parts is crucial for efficient operation.
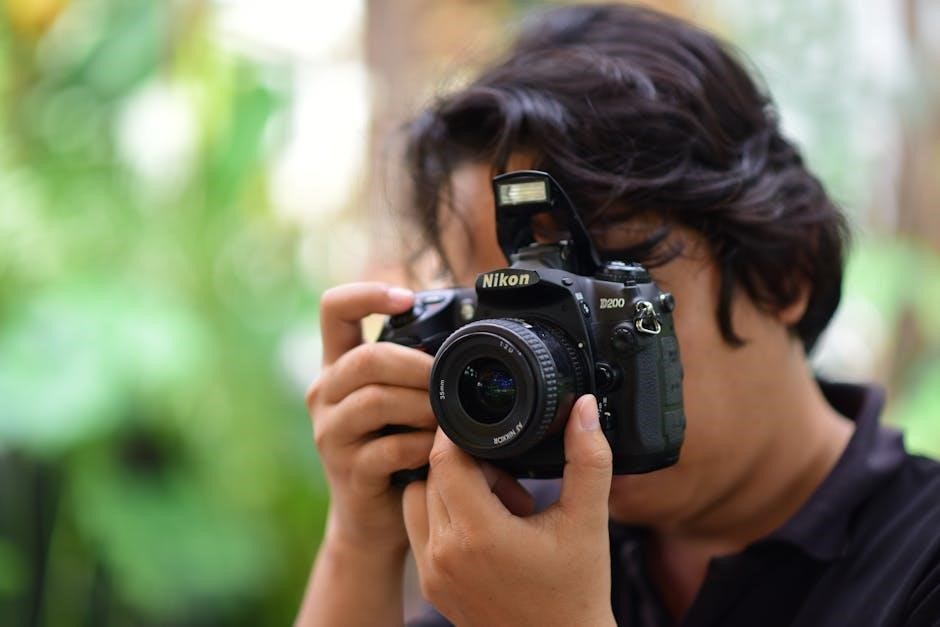
Essential elements include the lens, responsible for focusing light onto the image sensor; the monitor/viewfinder, used for composing shots and reviewing images; and the mode dial, which allows you to select various shooting modes like Auto and Scene modes. The power-on lamp (also serving as a charge lamp) indicates the camera’s status.
Pay attention to the function of the button, which controls information displayed on the screen. The strap attachment points ensure secure handling. Remember to use only Nikon-branded accessories – chargers, batteries, and adapters – to guarantee compatibility and safety. These are engineered to work seamlessly with your camera.
Safety Precautions and Important Notes
Your Nikon COOLPIX camera contains sophisticated electronic components. To ensure safe and reliable operation, please adhere to the following precautions. Always use Nikon-branded accessories – specifically chargers, batteries, and AC adapters – certified for use with your camera. Using non-Nikon parts may damage the camera and void your warranty.

Avoid exposing the camera to extreme temperatures, humidity, or direct sunlight for extended periods. Do not attempt to disassemble or repair the camera yourself; instead, contact an authorized Nikon service center. Before important events, like weddings or graduations, take trial shots to confirm settings and ensure proper functionality.
Handle the battery with care; do not puncture, disassemble, or expose it to heat. Keep the camera and accessories out of reach of small children. Regularly service your camera – Nikon recommends at least once every two years – to maintain optimal performance and longevity.
Getting Started: Initial Setup
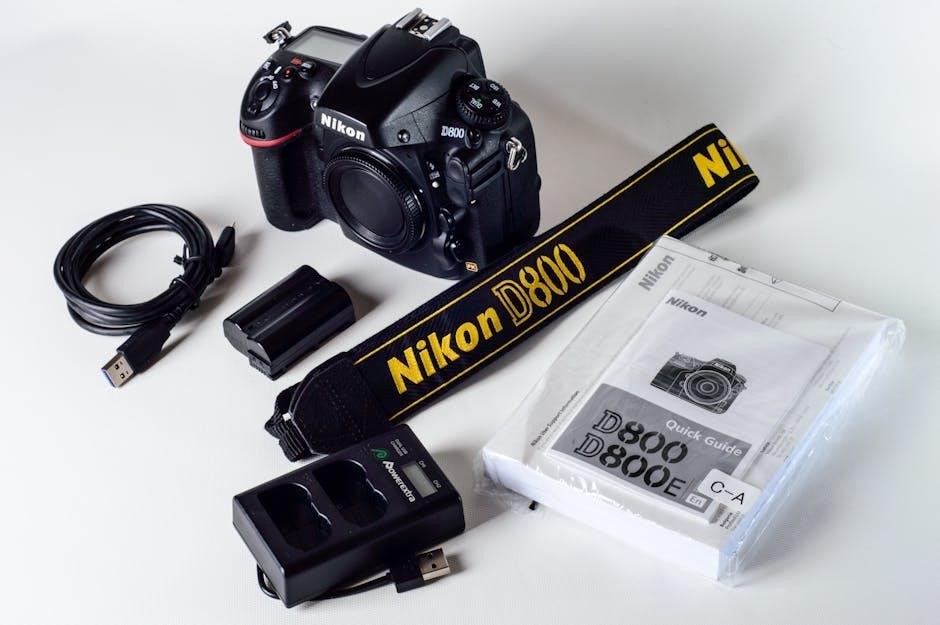
Before your first use, carefully unpack your Nikon COOLPIX camera and verify all included components. Begin by attaching the provided strap securely to the camera body, ensuring a comfortable and secure grip. Next, familiarize yourself with the location of the battery compartment and memory card slot – remember a memory card is not included and must be purchased separately (SD, SDHC, and SDXC cards are compatible).
Insert the battery and memory card according to the instructions detailed in their respective sections of this manual. It’s recommended to fully charge the battery before initial use. Download and install the ViewNX-i software (or alternative options) from Nikon’s Download Center to facilitate image transfer and management on your computer.
Refer to the included Fast Track Guide for a quick overview of camera settings and basic operations. Take some initial test shots to become acquainted with the camera’s functions and image quality.
Attaching the Strap and Lens Protection
To securely attach the strap, locate the strap attachment points on either side of the camera body. Thread the strap ends through these points and ensure they click firmly into place, providing a secure hold during use. Regularly check the strap’s connection to prevent accidental drops.
Protecting the lens is crucial. Your COOLPIX camera comes with a lens cap to shield the lens from scratches, dust, and fingerprints when not in use. Attach the lens cap by aligning it with the lens and gently twisting it until it clicks securely. Some models may also include a lens hood for added protection against glare and physical impacts.
When attaching or removing the lens cap or hood, avoid applying excessive force. Always handle these components with care to prevent damage to the lens or camera body. Proper lens protection significantly extends the lifespan of your camera.
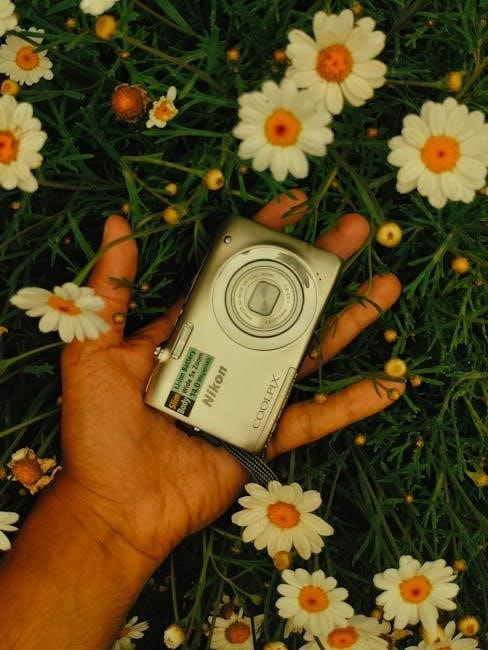
Inserting Battery and Memory Card
Before first use, insert the battery and a compatible memory card into your Nikon COOLPIX camera. Locate the battery compartment door, typically on the bottom of the camera, and open it. Insert the battery, ensuring the terminals align correctly as indicated by the diagram inside the compartment. Close the battery door securely until it clicks.
Next, locate the memory card slot, often adjacent to the battery compartment. Open the memory card slot cover. Supported card types include SD, SDHC, and SDXC. Insert the memory card face down, pushing it in until it clicks into place. Do not force the card.
Important Note: A memory card is not included with the camera and must be purchased separately. Always handle the memory card with care, avoiding exposure to static electricity or extreme temperatures. Ensure both doors are securely closed before powering on the camera.
Charging the Battery
To charge the battery, connect the supplied AC adapter to the camera using the USB cable. Plug the AC adapter into a standard wall outlet. The camera’s power-on lamp will illuminate, typically flashing or changing color to indicate charging is in progress.
Important: Only use Nikon-branded chargers and accessories specifically designed for your COOLPIX camera. Using non-Nikon chargers may damage the battery or camera and voids the warranty. Allow sufficient time for a full charge; the charging indicator will typically change to a solid light or turn off when complete.
Avoid interrupting the charging process. A full charge is recommended before initial use and after extended periods of inactivity. Do not expose the battery to extreme temperatures during charging. Refer to the safety precautions section for detailed battery handling guidelines. A fully charged battery provides ample power for numerous shots.
Powering On and Off
To power on your Nikon COOLPIX camera, locate the power button – typically found on the top panel. Press and hold the power button until the monitor illuminates and the camera initializes. The startup process may take a few seconds. The power-on lamp will also illuminate, indicating the camera is active.
To power off the camera, press and hold the power button again until the monitor shuts off and the camera completely powers down. Ensure the camera is fully powered off to conserve battery life when not in use.
Some models feature an auto power-off function that activates after a period of inactivity. This feature can be adjusted in the camera’s settings menu. Always properly power down the camera before storing it or removing the battery. Avoid abruptly turning the camera off during critical operations like image transfer.
Navigating the Monitor and Viewfinder
Your Nikon COOLPIX camera features a high-resolution monitor for composing shots and reviewing images. The monitor displays various information, including shooting settings, battery level, and image preview. Use the directional pad or touchscreen (if equipped) to navigate through menus and select options.
Some COOLPIX models also include an electronic viewfinder (EVF) for eye-level shooting. The EVF provides a clear view of the scene, even in bright sunlight. Switch between the monitor and EVF using the dedicated selector or camera settings.
You can customize the information displayed on the monitor using the display settings. Adjust brightness and color settings for optimal viewing. The button allows switching the information displayed on the screen. Regularly clean the monitor and EVF with a soft, lint-free cloth to maintain clarity.
Understanding Basic Functions of Controls
The Nikon COOLPIX camera boasts intuitive controls designed for ease of use. The power button initiates camera operation, while the shutter button captures images. The mode dial selects shooting modes, ranging from Auto for effortless shooting to Scene modes for specific conditions.
Directional buttons or a directional pad navigate menus and adjust settings. A dedicated zoom lever controls the optical zoom, bringing subjects closer without sacrificing image quality. The menu button accesses the camera’s comprehensive settings, allowing customization of image parameters.
Familiarize yourself with the function of each button and dial. Experiment with different settings to understand their impact on your photos. The principle functions of the controls are designed to provide a seamless and enjoyable shooting experience. Refer to the camera’s quick guide for a visual overview of control locations.
Using the Mode Dial: Auto and Scene Modes
The Mode Dial on your Nikon COOLPIX offers versatile shooting options. The ‘Auto’ mode simplifies photography, automatically selecting optimal settings for various scenes. This is ideal for beginners or quick snapshots, ensuring consistently good results without manual adjustments.
Scene modes cater to specific shooting situations. Portrait mode enhances skin tones and blurs backgrounds, while Landscape mode maximizes depth of field for expansive views. Other common scenes include Sports, Night Portrait, and Macro (close-up) photography.
Experiment with each Scene mode to understand its unique characteristics. The camera optimizes settings like aperture, shutter speed, and ISO sensitivity for the selected scene. Take trial shots before important occasions to familiarize yourself with the modes and achieve desired outcomes. Remember to consult the manual for detailed descriptions of each Scene mode’s functionality.

Adjusting Camera Settings: Image Quality & Size
Your Nikon COOLPIX allows customization of image quality and size, impacting file size and detail. Higher quality settings produce larger files with more detail, suitable for printing or extensive editing. Lower quality settings create smaller files, ideal for sharing online or conserving memory card space.
Image quality options typically include RAW, Fine, Normal, and Basic. RAW files retain maximum image data for professional editing, while Fine offers a good balance between quality and file size. Normal and Basic provide progressively smaller files with reduced detail.

Image size determines the resolution, measured in pixels. Larger sizes are best for large prints, while smaller sizes suffice for web use. Consider your intended use when selecting these settings. Remember that higher resolutions demand more storage space on your memory card. Experiment to find the optimal balance for your needs.
Transferring Photos to Your Computer
Transferring photos from your Nikon COOLPIX to your computer is straightforward. You can connect the camera directly using the supplied USB cable, or utilize a compatible card reader. Connecting via USB often prompts automatic software installation or device recognition by your operating system.
Nikon’s ViewNX-i software, downloadable from their website, provides a comprehensive solution for image transfer, organization, and basic editing. Alternatively, your computer’s operating system (Windows or macOS) can typically recognize the camera as a storage device, allowing drag-and-drop file transfer.
Ensure the camera is powered on during the transfer process. For large numbers of images, a card reader is generally faster. After transfer, safely eject the camera or card reader from your computer to prevent data corruption. Regularly back up your photos to an external drive or cloud storage for safekeeping.
Software Installation: ViewNX-i and Other Options
Nikon provides ViewNX-i software, a powerful tool for managing and enhancing your COOLPIX images. Download the latest version from Nikon’s official Download Center – a reliable source for compatible software. Installation is typically a guided process, requiring you to accept the license agreement and choose an installation location.
ViewNX-i allows for efficient image transfer, organization using keywords and categories, and basic editing functions like brightness and contrast adjustment. Beyond ViewNX-i, consider exploring other image management software options compatible with Nikon cameras, such as Adobe Lightroom or Capture NX-D (a paid upgrade from ViewNX-i).
Ensure your computer meets the minimum system requirements before installation. Regularly check for software updates to benefit from bug fixes and new features. Proper software installation enhances your overall photography workflow and unlocks the full potential of your COOLPIX camera.
Troubleshooting Common Issues
Encountering problems? First, ensure the battery is fully charged and the memory card is correctly inserted and not write-protected. If the camera doesn’t power on, try a different battery or memory card. For image transfer issues, verify the USB cable connection and software compatibility.
Blurry images often stem from camera shake; utilize the image stabilization feature or a tripod. If images appear grainy, increase the ISO setting cautiously, understanding it impacts image quality. Error messages on the screen usually indicate a specific problem – consult the manual’s error code section for solutions.
Should issues persist, reset the camera to its factory defaults (refer to the manual for instructions). If problems continue, contact Nikon’s technical support for assistance or visit an authorized service center. Regular maintenance and careful handling can prevent many common issues.
Nikon Accessories: Recommended and Compatible
To enhance your Nikon COOLPIX experience, consider genuine Nikon accessories. Recommended items include additional EN-EL20/EN-EL20a batteries for extended shooting sessions and compatible SD, SDHC, or SDXC memory cards for ample storage. Nikon offers a range of camera bags designed specifically for COOLPIX models, providing protection during transport.
For improved image stability, a compatible tripod is highly recommended, especially in low-light conditions. Nikon also provides optional AC adapters for convenient power supply during prolonged use. When purchasing accessories, always prioritize genuine Nikon products to ensure compatibility and optimal performance.
Avoid using third-party chargers or batteries, as they may damage your camera or void the warranty. Explore Nikon’s website or authorized dealers for a complete list of compatible accessories tailored to your specific COOLPIX model. Investing in quality accessories maximizes your camera’s potential.
Camera Maintenance and Servicing
Proper camera maintenance ensures longevity and optimal performance of your Nikon COOLPIX. Regularly clean the lens with a soft, lint-free cloth to remove dust and fingerprints. Avoid using harsh chemicals or abrasive cleaners. The camera body should be wiped down with a slightly damp cloth.
Store your COOLPIX in a dry, dust-free environment when not in use. Protect it from extreme temperatures and humidity. Nikon recommends professional servicing at least once every two years, or more frequently if used in harsh conditions. Authorized Nikon service centers offer expert cleaning, inspection, and repair services.
Do not attempt to disassemble or repair the camera yourself, as this may void the warranty and cause further damage. If you encounter any issues, contact Nikon support or an authorized service provider. Regular maintenance and professional servicing will keep your COOLPIX functioning flawlessly for years to come.
Memory Card Information: Types and Compatibility
Your Nikon COOLPIX camera utilizes memory cards for storing photos and videos. It is compatible with SD, SDHC, and SDXC memory cards – these are collectively referred to as “memory cards” within this manual. Note that a memory card is not included with the camera purchase and must be acquired separately.
SDHC cards generally have capacities up to 32GB, while SDXC cards support larger capacities, exceeding 32GB and reaching up to 2TB. Ensure the card is formatted correctly within the camera for optimal performance. Formatting erases all data, so back up important files beforehand.
Nikon recommends using high-quality, reputable brand memory cards to ensure reliability and prevent data loss. The camera’s manual will specify the supported card speeds (e.g., UHS-I) for recording high-resolution video. Using a slower card may result in reduced performance or recording limitations.